Dehydrating is a method of food preservation used for centuries. There are many different techniques and equipment you can use to dehydrate foods, but before you go out and buy an expensive dehydrator I want you to know you already have one at home. Your oven!
Yes, when set at a very low temperature you can dehydrate your own food with your oven. Most oven temperatures will only go down to 200 degrees so at times you may have to crack the door to let a little extra heat out. This is a great, affordable way to give dehydrating in small batches a shot without any financial investment.
Selecting a Dehydrator
I have several different brands of dehydrators and I love them all for various reasons. The two biggest differences you’ll find in dehydrators is a cabinet v.s. stackable dehydrator. With a cabinet dehydrator the heating element is in the back with a fan. This gives you even drying and you won’t have to move the racks. Cabinets are great for proofing bread and culturing yogurts too. This is how I make my easy yogurt!
The round, stackable dehydrator has its benefits too. I like how I can wash my herbs, lay them on the tray and stack it as I go. It’s much easier to carry the trays all at once as I walk downstairs to my basement to place them on the base. The downside to a stackable dehydrator is that the base where the heating element and fan is located is near the bottom tray. Which will require some leg work from you to move the trays up or down depending on their moisture level.
The three brands for dehydrators I have are Cosori, NESCO and Excalibur. Regardless of the brand, if you choose to purchase a dehydrator, try to find one with a temperature gauge. You can use your dehydrator for more than just drying foods! You can also use it as an incubator to culture creams and milk for yogurt and proof bread with it. I bought my first NESCO Garden Master Dehydrator off of Facebook Marketplace for only $40! To give you an idea of what to look for, here are the average temps for dehydrating different foods.
Dehydrating Temperatures
Herbs 95 *F/ 34 *C
Living Foods 105 *F/ 41*C
Proofing Breads 110 *F/ 43* C
Yogurt Making 115* F/ 46 *C
Vegetables 125 *F/ 52 *C
Fruits, Fruit Rolls 135 *F/ 57 *C
Meats & Fish 155 *F/ 68 *C
Jerky 155 *F–*/ 68 *C
Dehydrating Cookbook
The next thing you’ll need is a dehydrator cookbook. While there are many free resources, I have found when it comes to cooking or canning it’s nice to have a book on hand. Each item may have a specific way to dry it or add an acid (lemon water) to preserve the color. It cuts down on the research time and helps you get a full idea of how to properly prepare your foods. The Dehydrator Cookbook by Tammy Groff is a great place to get started.
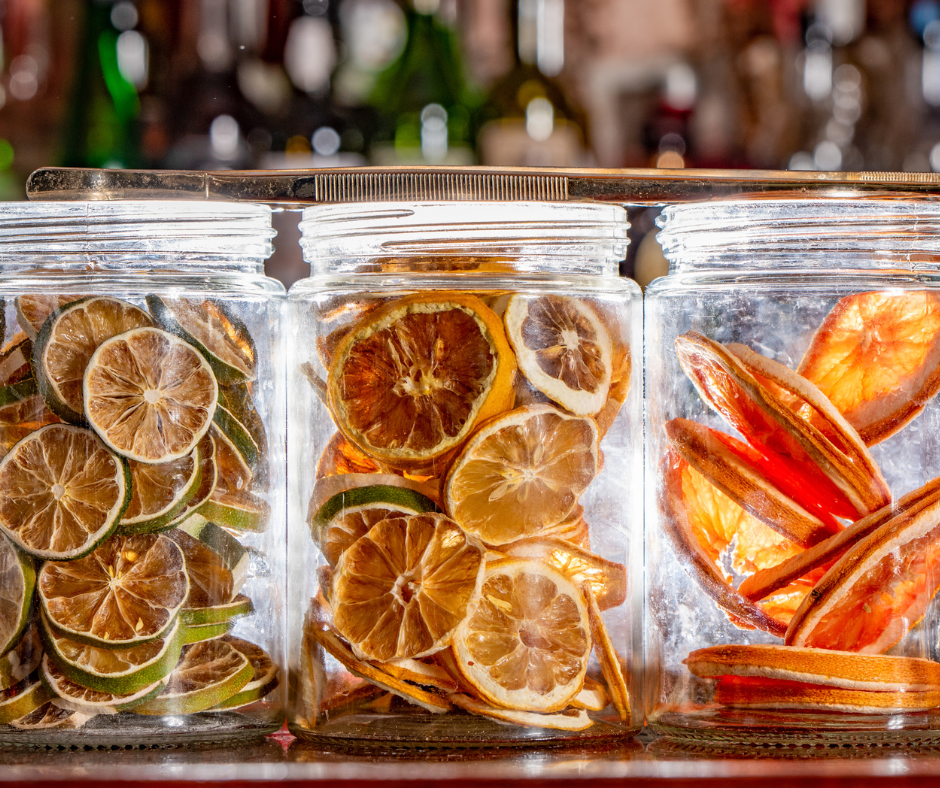
Conditioning your food
The last piece of advice I want to leave you with is a reminder to condition your foods as it is often overlooked but very important when it comes to dehydrating. Conditioning is a method to allow your dehydrated foods to cool down and to double check moisture was removed. To do this, allow food to cool on the tray. After that, fill food 2/3rds full in a mason jar and allow it to sit at room temp covered with a cloth for a few days. During this time, pick it up and shake it, checking to see if any gummy pieces are sticking to the sides of the jar. If it rattles loosely then it means the food is at a correct moisture level to store for a long term. If you find pieces are sticking, then you need to place it back into the dehydrator for a few more hours. Making sure your food is completely dry will help reduce the chances of mold and food borne illnesses like botulism.
You can read more about safe dehydrating practices here and here. I want to remind you that dehydrating is a very safe method to preserve food. It is a great way to save the harvest with little effort on your part and is essential on our homestead. I hope you’ll get started dehydrating today!